



Storage container with clip lid, a sturdy 28-part set
Twenty-eight printable sizes with a clicking spring lid
 Leon Founder & Lead Designer
Founder and lead designer, focused on new concepts, 3D design and developing our digital tools.
 A real photo of our own print, shot in our white light box. The clean white background is real studio lighting, not a render - we print every model ourselves.
Contents
Hello, people who definitely do not have too much filament. Today we are looking at the Storage container, a design that gave us another perfectly reasonable excuse to keep the printers running.
A storage container with clip lid earns its place by solving one annoying thing: lids that either pop off too easily or refuse to open when your hands are full. This one uses a spring mechanism tucked into the lid itself, so the two lid pieces click together and hold, but still open with a light press. It's a small mechanical detail, but it's the part that makes the whole object feel worth printing instead of just buying a plastic box.
The design behind it is called the Ratami Container, and the idea was to give one system enough range that it could replace a drawer full of mismatched tubs and tins. Twenty-eight variants come from combining two diameters, D100 and D150, with heights from H60 up to H200, plus optional extras. You can add a label area to the lid if you want to mark what's inside, and you can add rubber studs underneath if you want the container to sit still on a shelf or in a drawer instead of sliding around.
What does the storage container with clip lid look like once assembled?
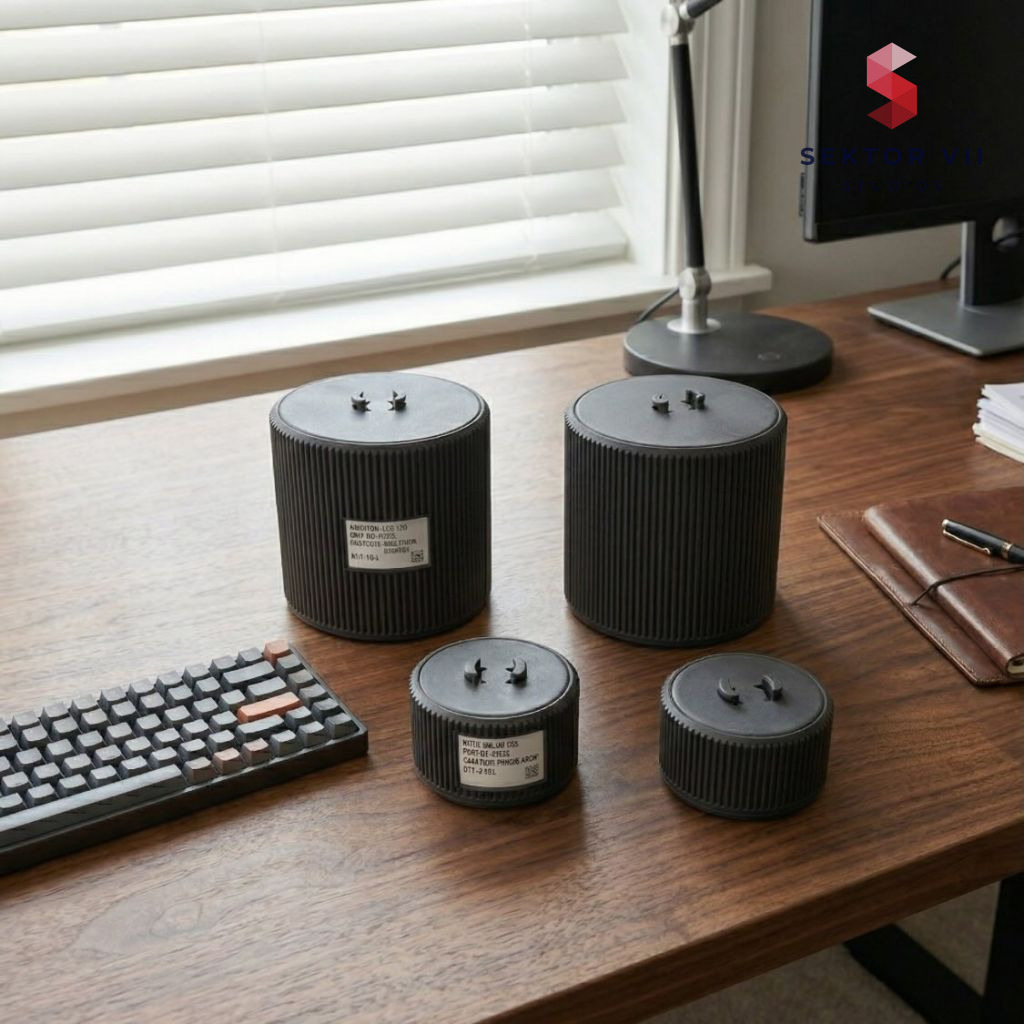
Printed and assembled, it reads as a plain cylindrical box with a flat or labeled lid, nothing fussy about the shape. The clean lines are deliberate: this is meant to sit on a desk or in a cupboard without drawing attention to itself. The clip mechanism sits inside the lid, out of sight, so from the outside all you see is a smooth container that opens and closes with a click. Choosing the label version gives the lid a small flat panel for writing or printing what's inside, while the plain version keeps the surface uninterrupted.
Assembly is part of the object, not an afterthought
Because the clip mechanism is a separate spring part, putting the container together takes a few deliberate steps rather than a single print-and-go. You insert the spring piece into the upper lid part, align the bottom lid piece against it, and press the two together until they click. Once that's done, you set the assembled lid onto the container body and it's ready to use. It's a short process, but it means the container is a small kit rather than a single printed shape, and it's worth doing carefully so the click stays crisp over repeated use.
Where a set like this actually gets used
The range of sizes is what makes this more than a one-off print. A D100 x H60 with no extras suits screws or small hardware on a workbench, while a D150 x H200 has enough volume for bulkier kitchen or workshop items. Because every size shares the same clip lid system, you can print a handful of different sizes and know they'll all open and close the same way. That consistency matters if you're setting up a shelf of them side by side, labeled and sorted, rather than one container standing alone.
People are already using it across kitchen, office, bathroom, and workshop settings, and for EDC carry as well. Screws, cables, cosmetics, food items, small tools: the brief is not specific about what goes in any single size, which is really the point. It's a shape designed to be filled with whatever needs a fixed place, printed at whichever diameter and height matches the job.
What should you print first?
With 28 combinations available, picking a starting size is the real decision. A mid-size D100 x H100, with the label option, is a reasonable first print if you want to test the clip mechanism before committing to a whole shelf of them. Once you're comfortable with how the spring lid assembles and clicks, scaling up to the larger D150 heights or printing several sizes at once to build out storage for a specific space becomes straightforward, since the assembly steps stay identical across every variant.
The geometry is described as easy to print and optimized, which lines up with the shape itself: no overhangs or features that look like they'd need much support, just a lidded cylinder and a small internal spring part. For anyone who organizes by container rather than by drawer, this is a system that scales with the mess rather than fighting it.
That is the story of the Storage container from our side. What happens next is up to your filament, your printer, and possibly your willingness to start a print at an unreasonable hour.
Leon Sektor 7 Studios
Get this model
Every model is available as STL and 3MF files. Selling physical prints needs a commercial license; the files themselves may not be resold. Part of our library of 400+ models – every one included from $10 a month.
On social media
Commercial license
Recommended Print Settings
The settings and the filament we used for our own print of this model, and the combination that gave us the best result. A recommendation, not a requirement.
- Filament
- Bambulab PLA Matte black
- Infill
- 8% Gyroid or Grid
- Layer Height
- 0.2mm
- Walls
- 2
- Nozzle Size
- 0.4mm
- Support Structure
- none needed
- Brim
- None needed, but when you have adhesion problems than activate the brim
- Skirt Loops
- 1 (optional)
Tags
Join the conversation
Loading comments…