



Advent star candle holder set, a cheerful 4-piece print
Snap-fit stars with swappable inserts for your own color mix
 Leon Founder & Lead Designer
Founder and lead designer, focused on new concepts, 3D design and developing our digital tools.
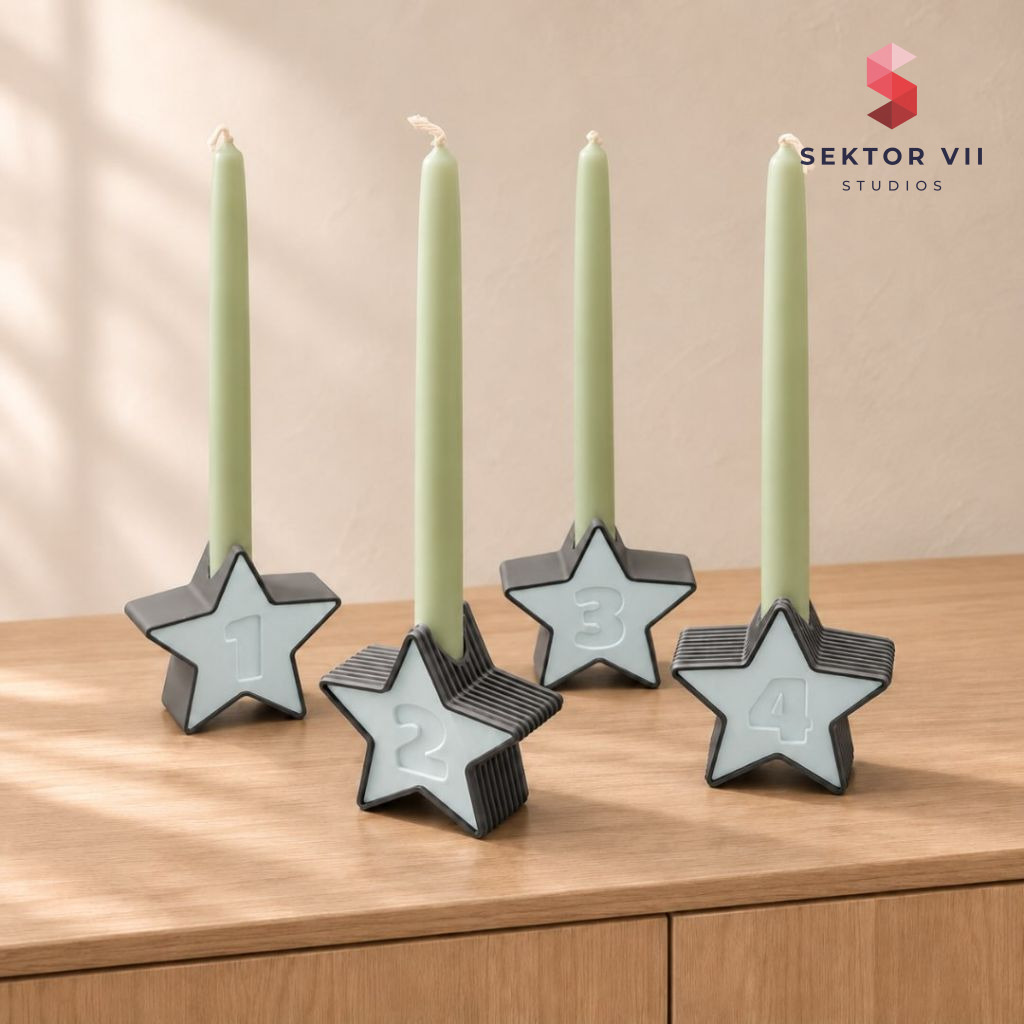 A real photo of our own print. We print every model ourselves and photograph it as it is - on location or in our photo box on a white background.A real photo of our own print, shot in our white light box. The clean white background is real studio lighting, not a render - we print every model ourselves.We print every model ourselves. This render shows the original model exactly as it comes off the printer - only digitally staged.
Contents
Hey print people. Today we are giving the Advent star candle holder set a little more attention and taking a closer look at the concept, the geometry, and the final result.
The advent star candle holder set takes the old idea of four candles burning down the weeks before Christmas and turns it into something you build and color yourself, one star at a time.
Each star in the set is actually two printed parts. There’s a numbered insert, shaped like a star with the digit cut into it, and an outer shell that the insert slides into. A row of small snap-fit tabs on the insert clicks into matching recesses inside the shell, so the two halves lock together without glue or extra hardware. You print four of these pairs, numbered one through four, and that’s your full countdown set.
What does the advent star candle holder look like finished?
Once assembled, each piece reads as a clean star silhouette with a candle opening at the top and a number worked into the insert. You get to choose between two shell styles: smooth, which keeps the surface plain and lets the star outline do the talking, or ribbed, which adds a textured, grooved surface that catches light differently. Nothing stops you from printing all four shells in the same style, or splitting the set between smooth and ribbed if you want some visual variation across the numbers.
Why print the insert and shell separately?
Because the insert and the shell are two distinct prints, you can give them different colors without needing a multicolor setup. A single-color printer is enough to make a two-tone star: print the shell in one filament, the insert in another, then snap them together. This opens up a lot of combinations. Dark shells with pale inserts give the numbers strong contrast. Soft neutral tones keep things understated. A red-and-white pairing leans into the holiday feel directly. You can also treat each star as its own color story and still have the set look coordinated as a group, since the shape stays consistent across all four.
For anyone with a multicolor printer, there’s a further option: printing the individual parts themselves in more than one color, which lets you add accents or make the numbers stand out from the rest of the insert. That’s an extra layer on top of the shell-and-insert contrast, not a requirement.
Assembly and the snap-fit mechanism
Putting a star together is meant to be quick. You line up the insert with the opening in the shell, making sure the star points and the candle opening at the top match up, then slide the insert in until the tabs click into their recesses. No tools, no adhesive. That simplicity matters for a four-piece set like this one, since you’re repeating the same step four times to finish the whole countdown, and a fussy connection would make that tedious fast.
Where the advent star candle holder set fits
This is a set built to be seen together rather than one piece at a time. Lined up on a sideboard, a shelf, or the center of a table, the four stars read as a sequence, numbers in order, ready for one more candle to be lit each week of Advent. It sits comfortably as a modern alternative to a traditional wreath, especially in a home that already leans toward cleaner, more graphic holiday decor rather than greenery and ribbon.
Because the color choices are entirely up to you, the same set can look restrained one year and more festive the next, just by reprinting the inserts or shells in new filament. That’s worth keeping in mind if you’re printing this as a gift: the recipient’s color scheme doesn’t have to match yours at all.
A practical note worth repeating here since it comes directly from the people who made the set: these are candle holders, not candles. Use inserts suited to holding an actual candle safely, and don’t leave a lit one unattended. That’s not a printing instruction, but it’s part of actually using the thing once it’s off the print bed.
Thanks for reading, and see you at the next print.
Leon Sektor 7 Studios
Real photos
3 photos of the printed model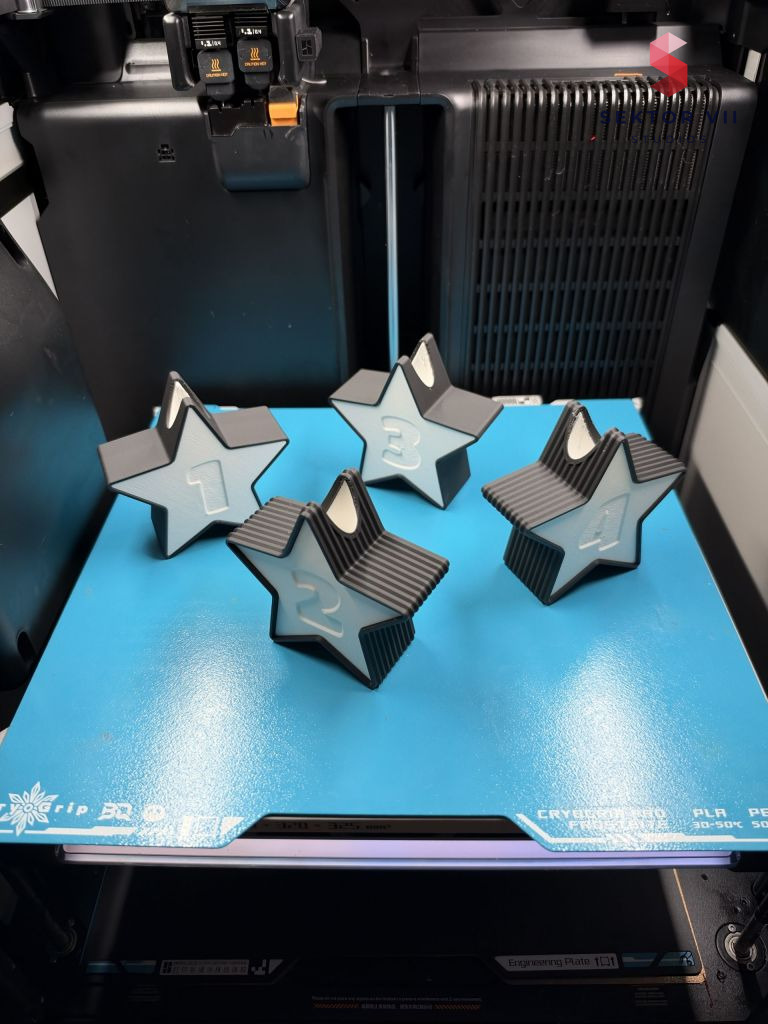
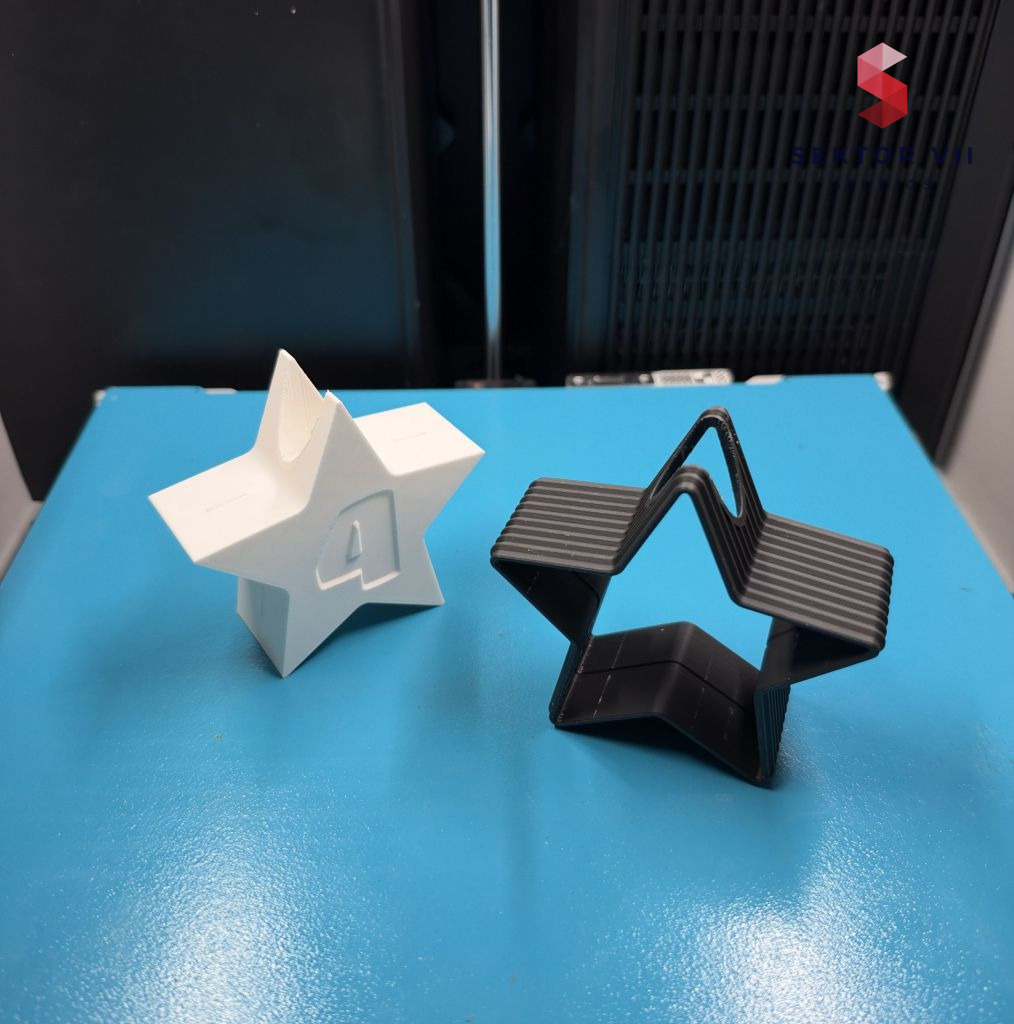
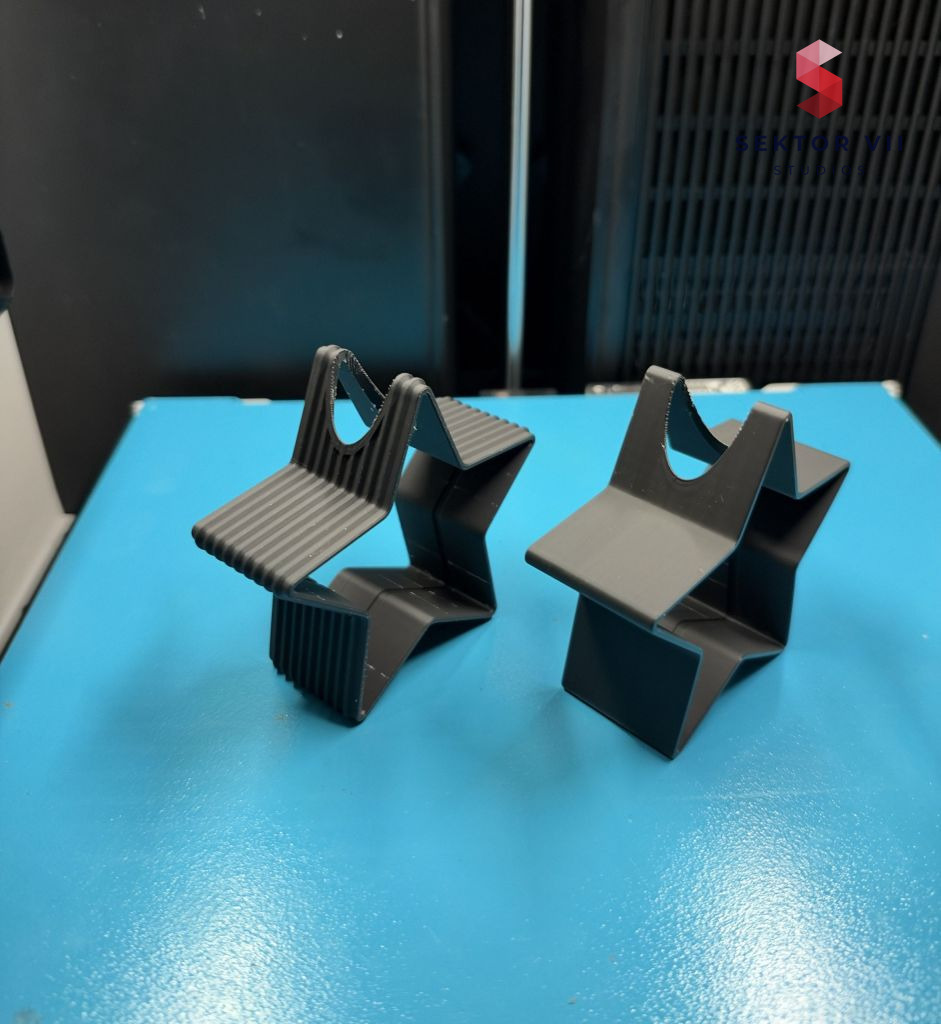
Get this model
Every model is available as STL and 3MF files. Selling physical prints needs a commercial license; the files themselves may not be resold. Part of our library of 400+ models – every one included from $10 a month.
On social media
Commercial license
Recommended Print Settings
The settings and the filament we used for our own print of this model, and the combination that gave us the best result. A recommendation, not a requirement.
- Filament
- Bambulab PLA Matte white, black
- Infill
- 8% Gyroid or Grid
- Layer Height
- 0.2mm
- Walls
- 2
- Nozzle Size
- 0.4mm
- Support Structure
- needed!
- Brim
- None needed, but when you have adhesion problems than activate the brim
- Skirt Loops
- 1
Tags
Join the conversation
Loading comments…