


Christmas tree candy box 3D print, cheerful 3-part design
A pleated tree that twists open to reveal a hidden sweets bowl
 Leon Founder & Lead Designer
Founder and lead designer, focused on new concepts, 3D design and developing our digital tools.
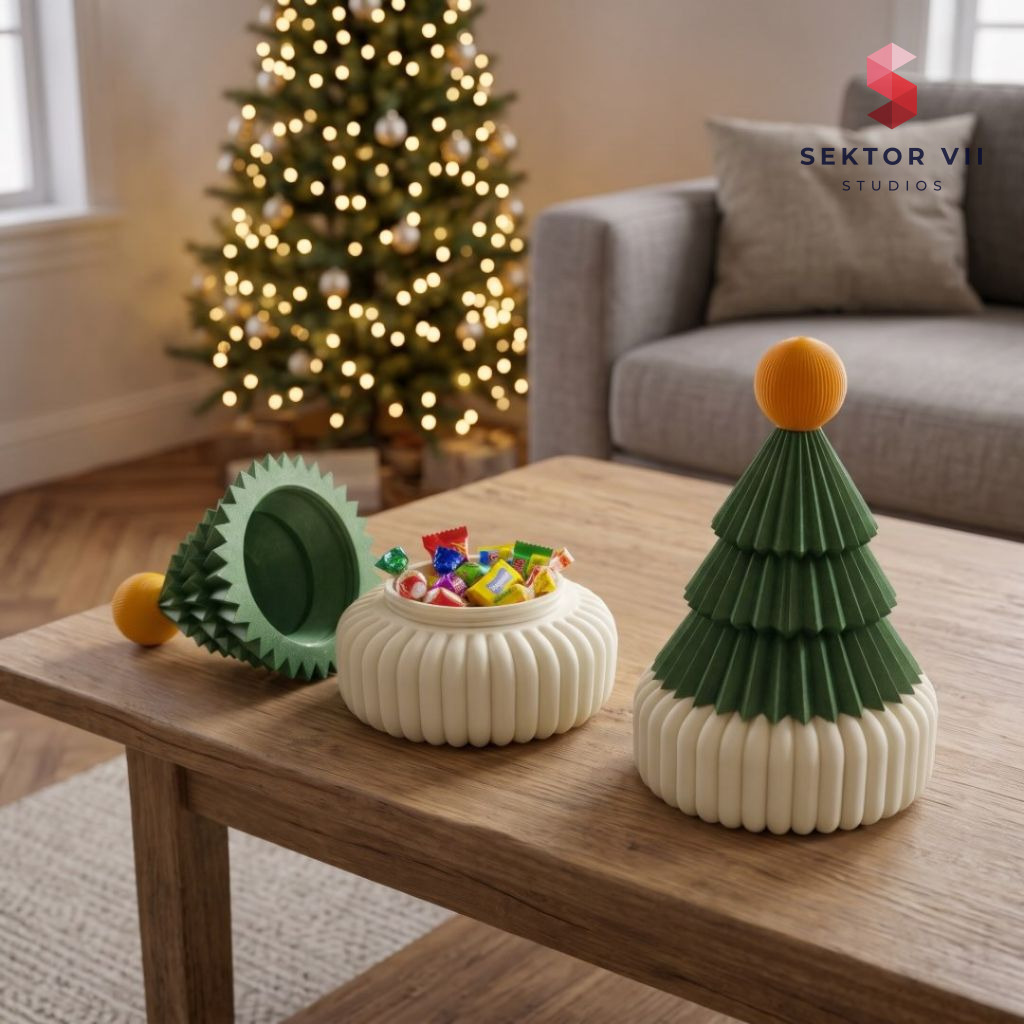 A real photo of our own print. We print every model ourselves and photograph it as it is - on location or in our photo box on a white background.A real photo of our own print, shot in our white light box. The clean white background is real studio lighting, not a render - we print every model ourselves.We print every model ourselves. This render shows the original model exactly as it comes off the printer - only digitally staged.
Contents
Grab some filament and make yourself comfortable. Today we are talking about the Christmas tree candy box 3D print, how the idea developed, and why this one earned a place in our growing collection.
A Christmas tree candy box 3D print is exactly the kind of model that makes people pick it up twice: once to admire the pleated tree shape, and again when they realize it opens. It looks like straightforward holiday decor until someone lifts the lid and finds a bowl waiting underneath, ready for chocolates or wrapped sweets. The idea behind it is simple hospitality dressed up as a Christmas ornament.
What the design actually is
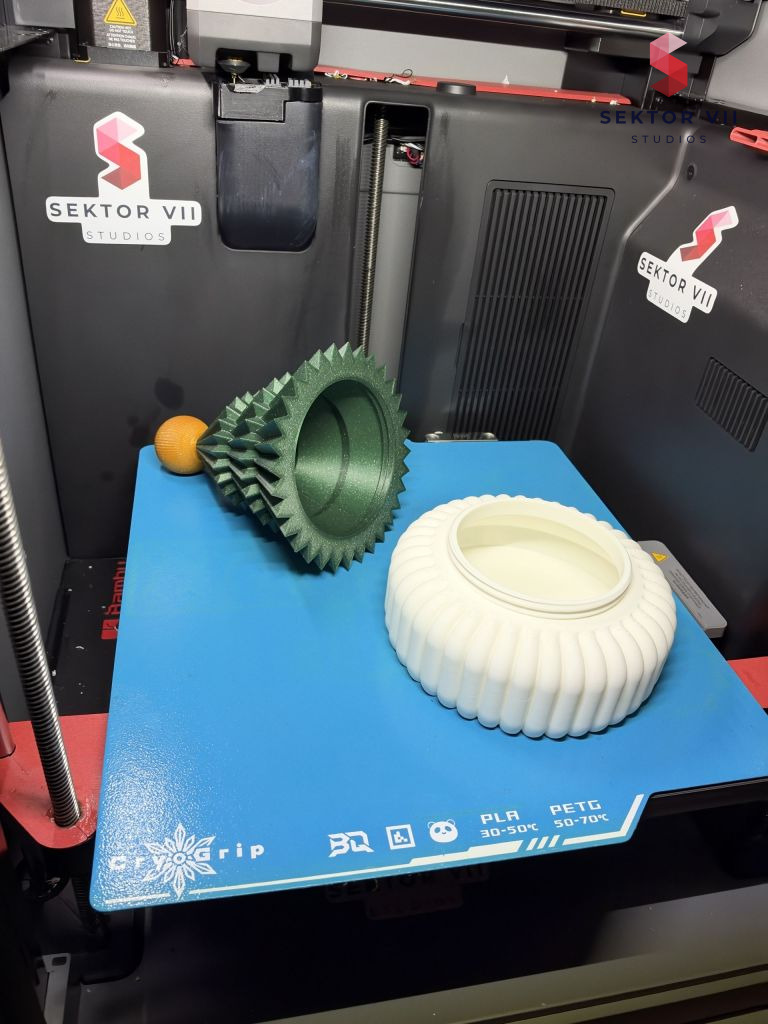
The model, called the Christmas Tree Secrets Bonboniere, is built from three parts: a rounded, ribbed storage bowl, a pleated tree-shaped lid, and a small decorative ball that sits on top like a tree topper. Each piece has its own job. The bowl holds the treats, the tree lid conceals them, and the ball finishes the silhouette so the whole thing reads as a tree rather than a container with a lid.
Unscrewing the tree reveals the bowl underneath, and screwing it back closes the stash away again. It’s a small bit of mechanical satisfaction tucked into a seasonal object, the kind of detail that makes a gift feel more thought out than a plain box would.
Printing the Christmas tree candy box 3D print without AMS
This is a multipart print, and that’s deliberate: the bowl, the tree lid, and the ball topper are printed separately, each in its own filament color, then screwed together afterward. There’s no need for an AMS or any multicolor setup, since the color combination comes entirely from how you choose to print and assemble the three pieces.
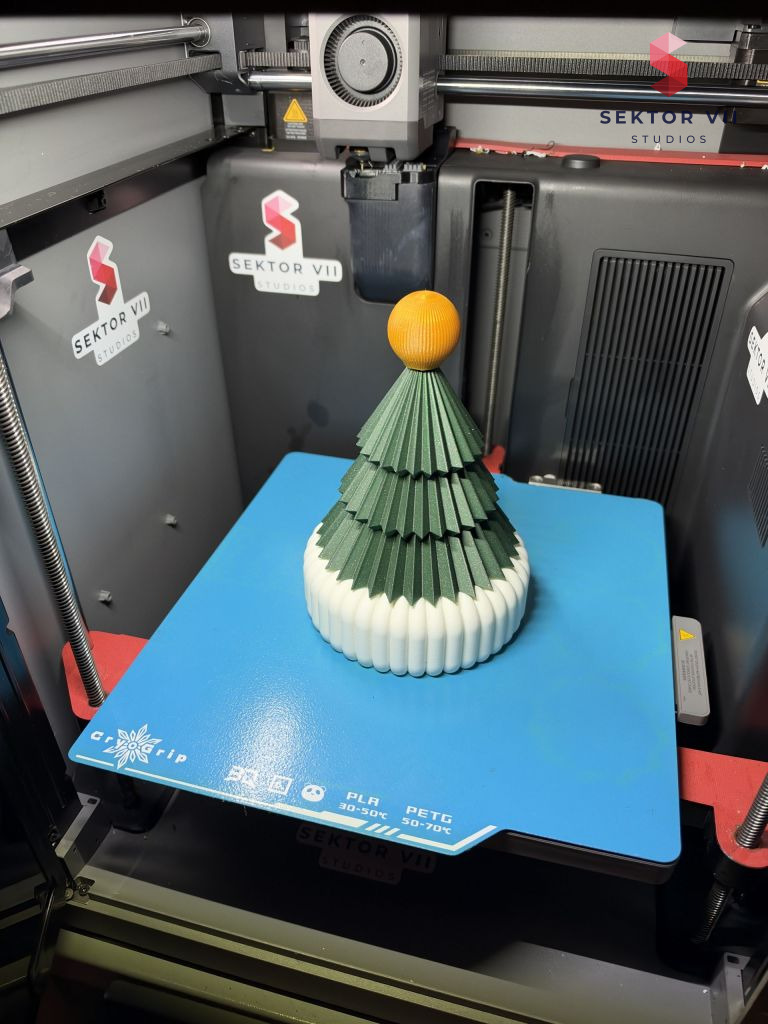
That also means you can experiment freely. Classic red and green, soft neutrals, or a mismatched combination that matches your existing decorations all work the same way, because the color choice happens at the slicer, not inside a single print job. For the green version shown in the photos, Bambu Lab PLA Sparkle was used for the tree, which gives the pleated ribs a subtle shimmer, paired with a cream bowl and a golden-yellow topper.
All three parts print completely without supports. That’s worth noting for anyone who’s dealt with cleaning support marks out of pleated or ribbed surfaces before, since this design avoids that step entirely across the bowl, the lid, and the topper.
Assembly is just three screws
Once the parts are printed, putting the Christmas tree candy box 3D print together is a matter of screwing rather than gluing. The ball attaches to the top of the tree, the bowl gets filled with whatever treats you’ve chosen, and the tree lid screws onto the base to seal it shut. Opening it again later is just a twist, so it’s not a one-time reveal: it’s meant to be opened and closed as the candy gets eaten and replenished.
That screw connection also means there’s no fiddly fitting or trial-and-error with friction fits. If the threads print cleanly, assembly should be quick.
Where it fits in a holiday setup
Closed, it reads as a piece of tabletop Christmas decor, something to set on a coffee table, sideboard, or desk alongside other seasonal pieces. Filled with sweets, it becomes a functional candy dish with its storage built into the decoration itself, so it doesn’t look out of place even when it’s doing double duty.
It also works well as a gift on its own. Fill the bowl, screw the tree shut, and hand it over as a wrapped surprise disguised as an ornament. For anyone building out a Christmas print queue this year, it’s a model that gives you a finished decorative object and a small bit of function in the same print.
That is all from the workshop for now. Keep the filament dry, the build plate clean, and a little space free on the print queue for whatever we come up with next.
Leon Sektor 7 Studios
Real photos
3 photos of the printed model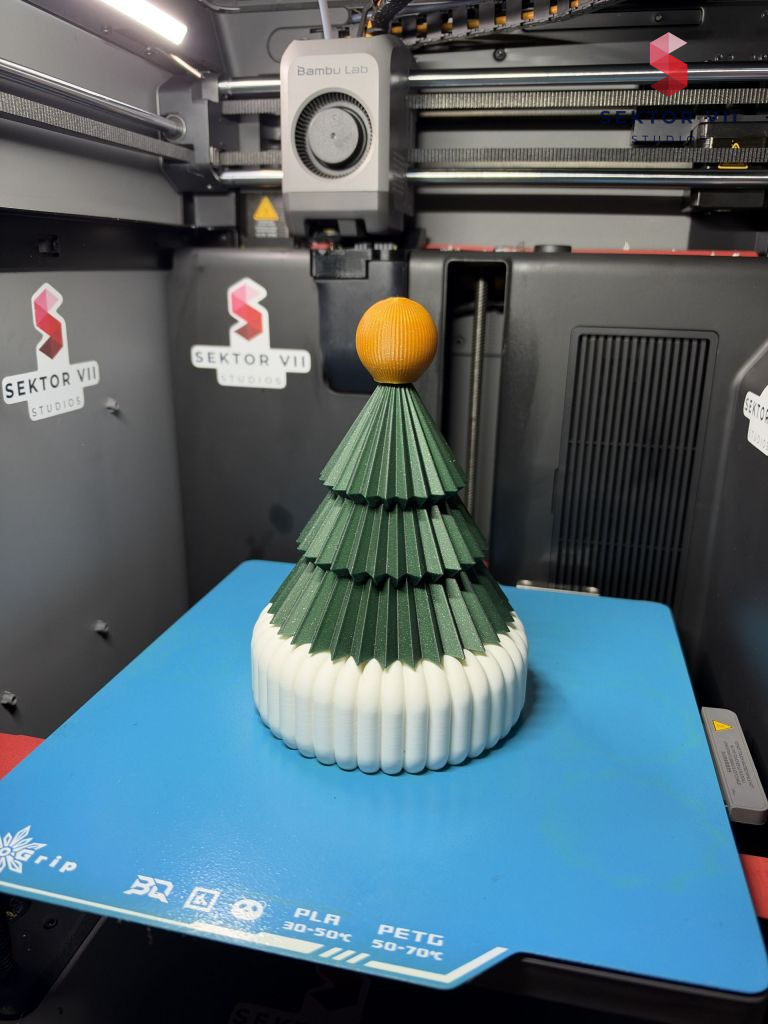
Get this model
Every model is available as STL and 3MF files. Selling physical prints needs a commercial license; the files themselves may not be resold. Part of our library of 400+ models – every one included from $10 a month.
On social media
Commercial license
Recommended Print Settings
The settings and the filament we used for our own print of this model, and the combination that gave us the best result. A recommendation, not a requirement.
- Filament
- Bambulab PLA Sparkle green and Bambulab PLA matte bone white
- Infill
- 8% Gyroid or Grid
- Layer Height
- 0.2mm
- Walls
- 2
- Nozzle Size
- 0.4mm
- Support Structure
- none needed!
- Brim
- None needed, but when you have adhesion problems than activate the brim
- Skirt Loops
- 1
Tags
Join the conversation
Loading comments…